To authenticate your SAP SuccessFactors account, you will need to provide the following information:
API Server URL
Username
Company ID
OAuth Credentials
This guide will walk you through finding or creating those credentials within SAP SuccessFactors and entering it into the linking flow.
Prerequisites
Please ensure you fulfil all the requirements to set up the integration:
You are an Administrator in your company's SAP SuccessFactors instance, or someone has shared their access with you.
Instructions
Step 1: Find your API Server URL
Your API domain depends on your region. To locate it
Navigate to the SAP SuccessFactors API Servers list
Filter for your environment (typically production unless using preview/demo instances)
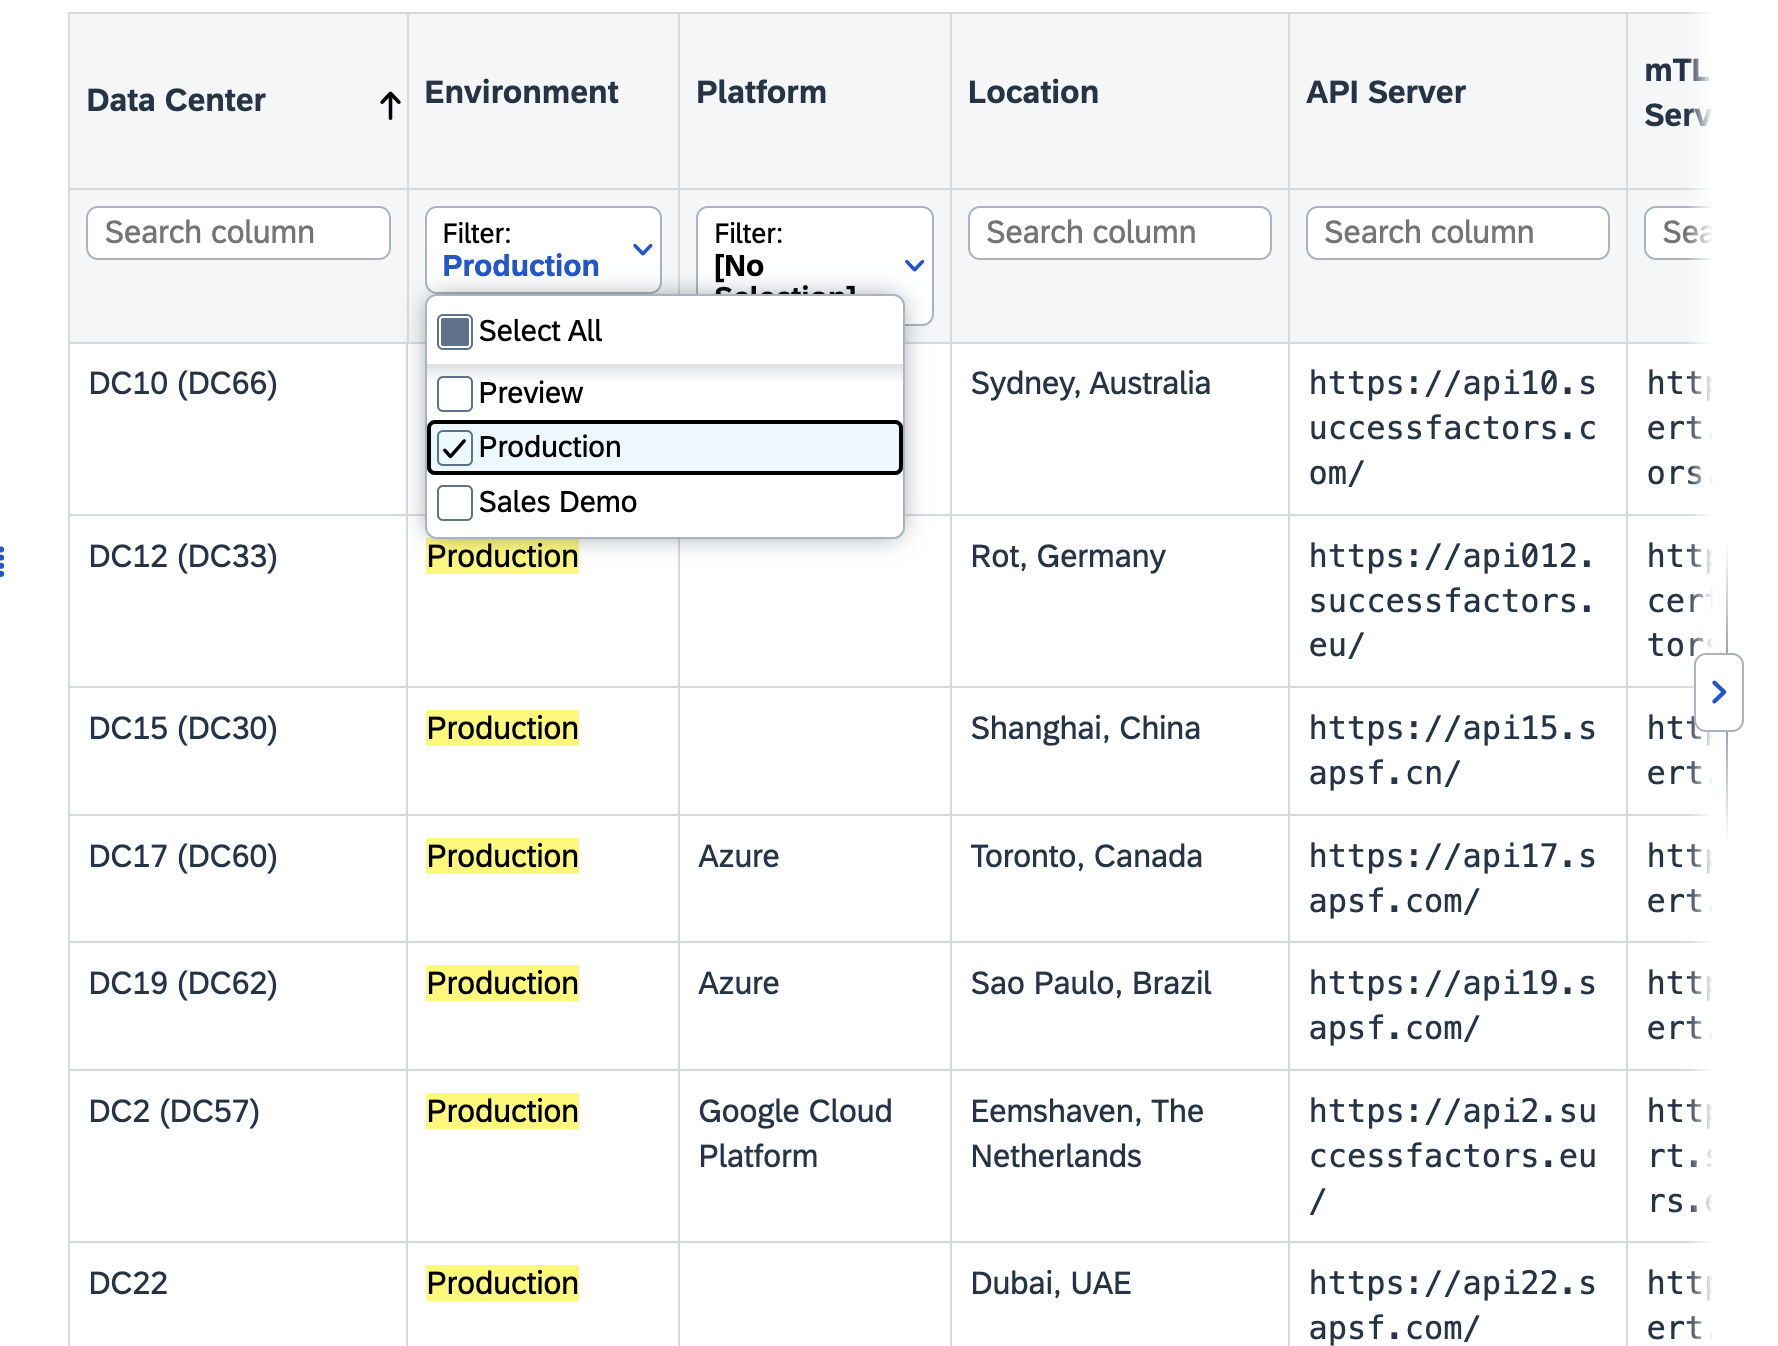
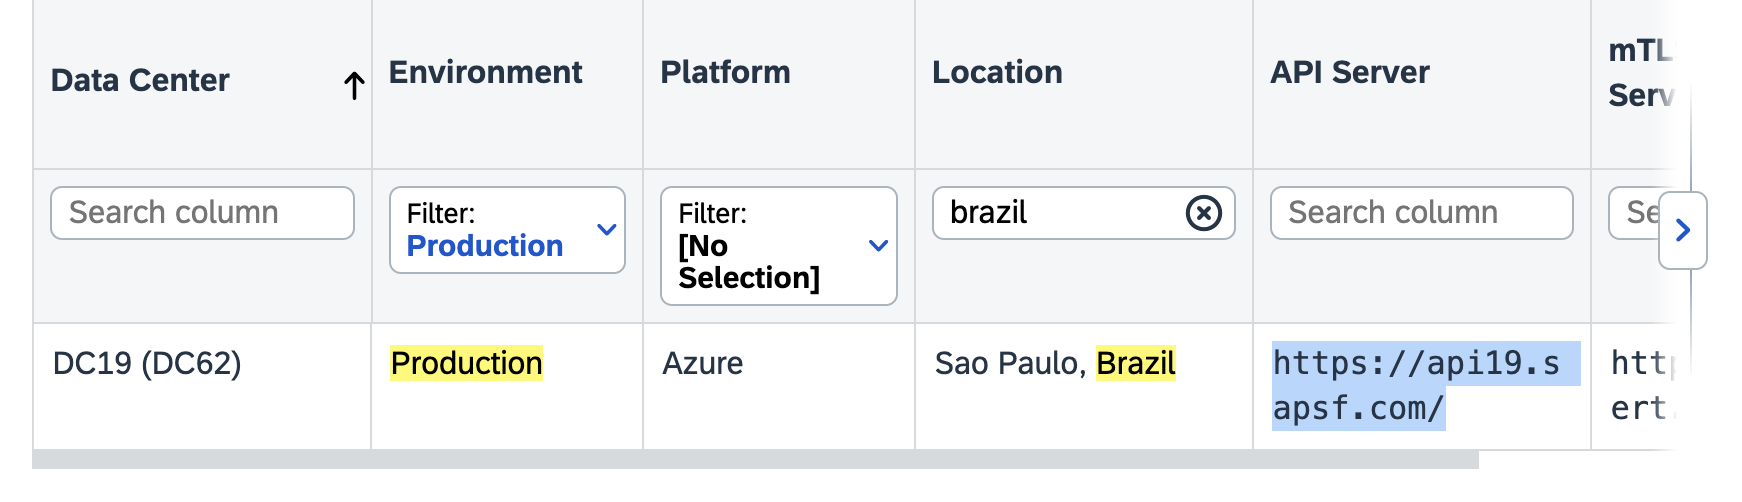
c. Find your location and corresponding API Server URL.
Example: Brazil users would use https://api19.sapsf.com/
d. Unofficial Workaround: Your API server URL typically mirrors your SuccessFactors login URL. For example, this is how your login and api server URLs would look like
Login URL: https://hcm68sales.successfactors.com
API Server URL: api68sales.successfactors.com
Note:
Need Help? If you're unsure of your API Server URL or experiencing connection issues, contact your SAP Support team. SAP recommends this approach to ensure you receive the correct API server URL for your instance.
Step 2: Enter the URL into the linking flow
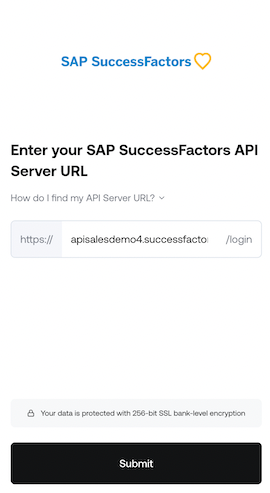
Copy the entire URL. In this example, it would be: apisalesdemo4.successfactors.com
Enter your SAP SuccessFactors API Server URL into the integration authorization component as shown below
Step 3: Find your SAP Username and Company ID
To find your SAP SuccessFactors username, go to the upper right hand side and click on your profile image to view your username.

To find your SAP SuccessFactors Company ID, in the same dropdown menu, click "Show version information." Locate Company ID in the modal that pops up:
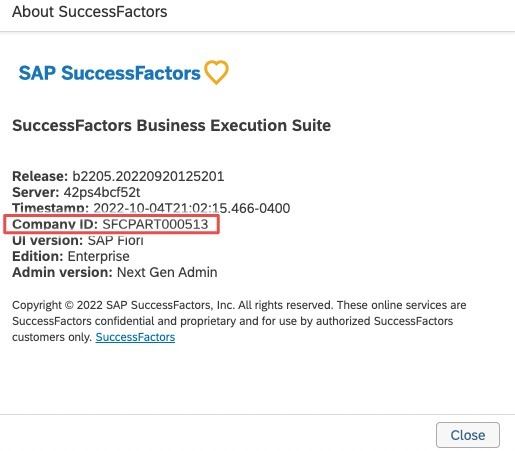
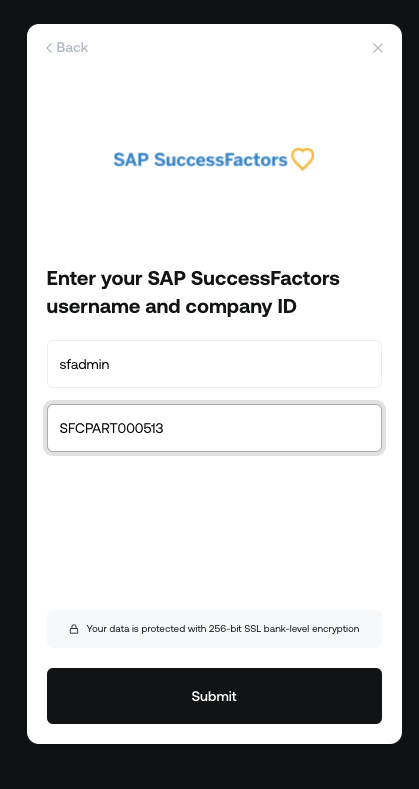
Once you obtain your username (not email) and company ID, enter them in the linking flow as shown:
Step 4: Find your SAP SuccessFactors Client ID and Secret by generating a certificate
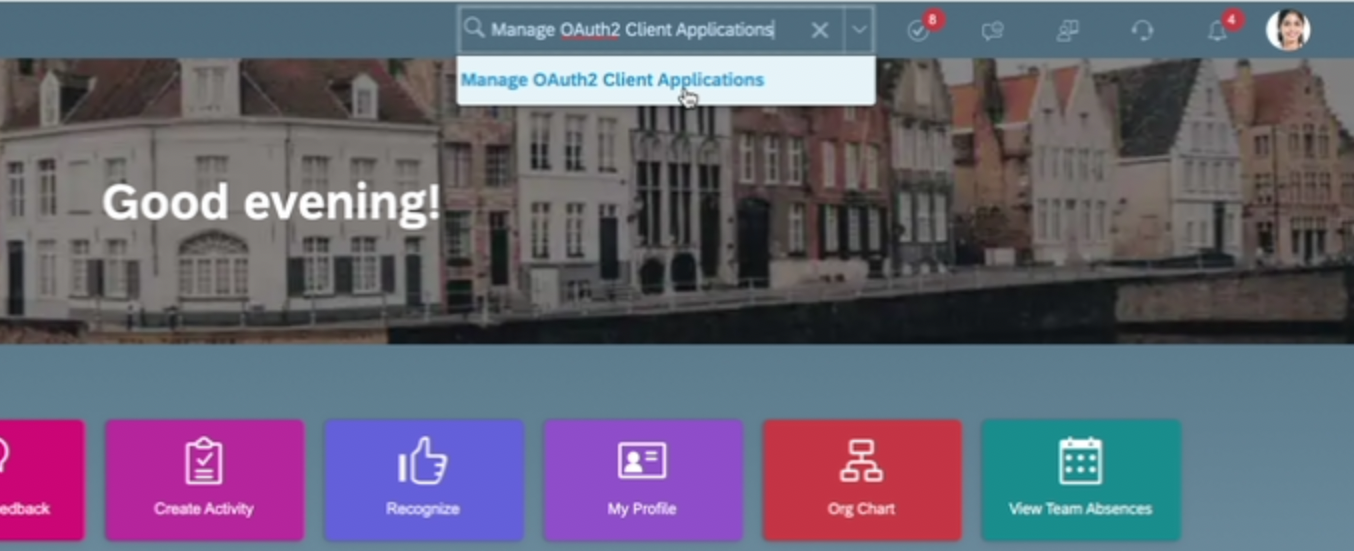
In your Admin Center, go to Tools, and search Manage OAuth2 Client Applications (If your page looks different, search for Manage OAuth2Client Applications in the search tool on your homepage)
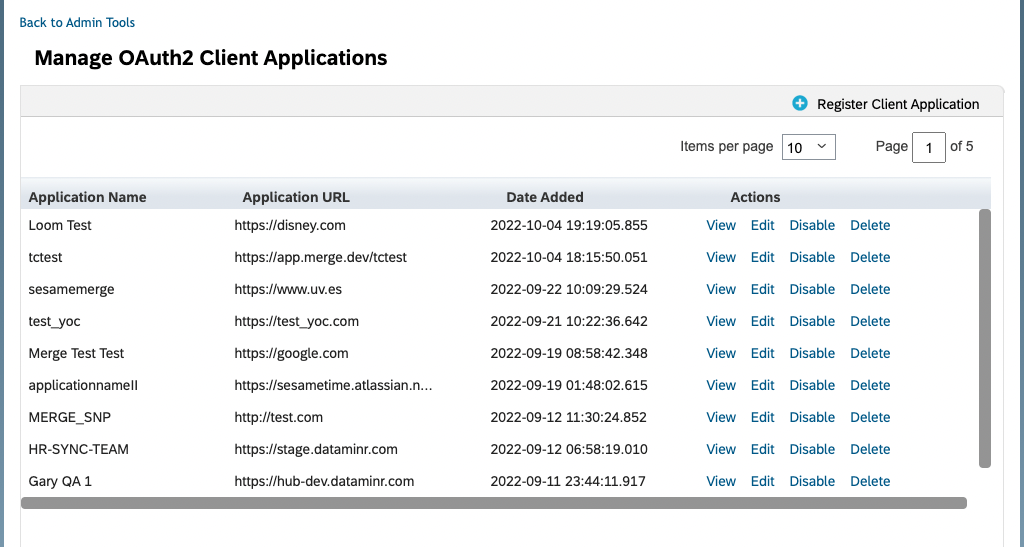
Click Register Client Application
Fill out Application Name & Application URL (what actually goes in these fields is not important, except that the URL has to begin with https://)
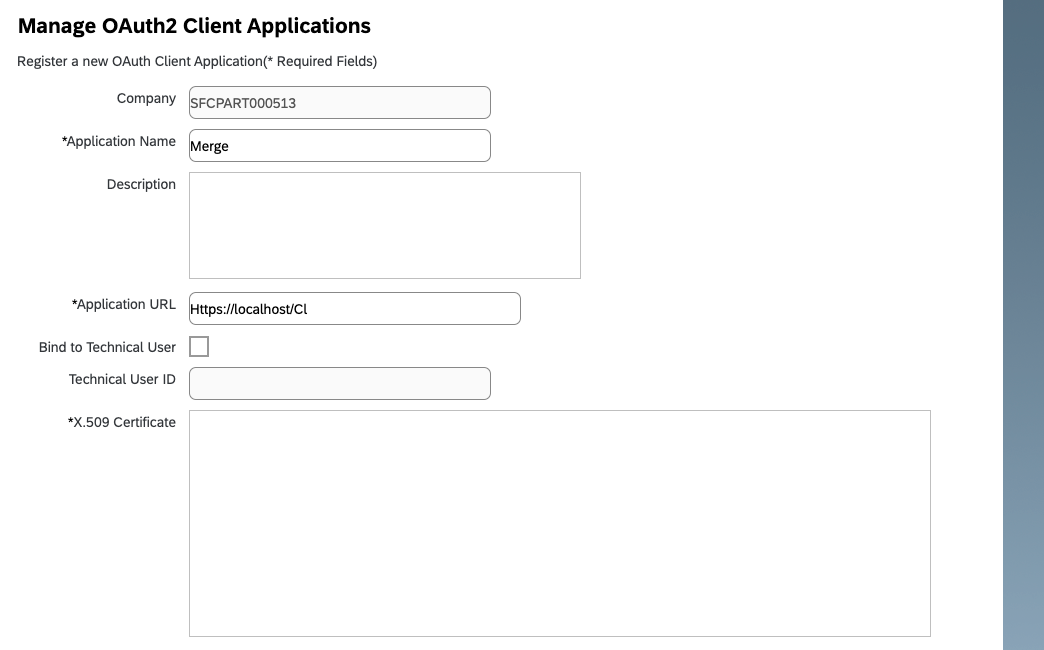
Click Generate X.509 Certificate. Fill out Common Name (the name doesn't matter) and hit Generate
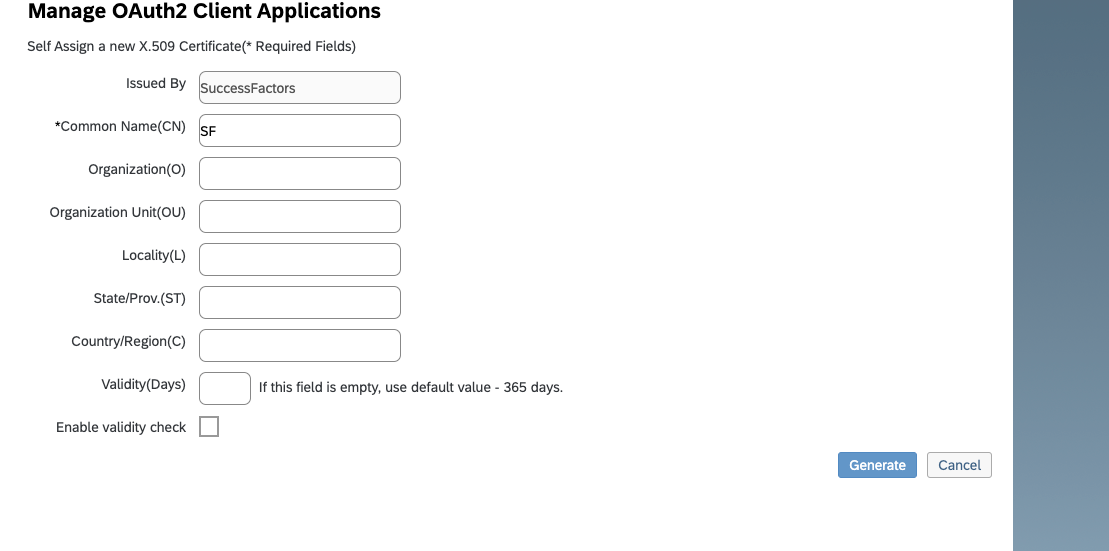
Once the certificate populates, download and save it. You will have downloaded a file called Certificate.pem

Click Register (it will have replaced the Generate button)
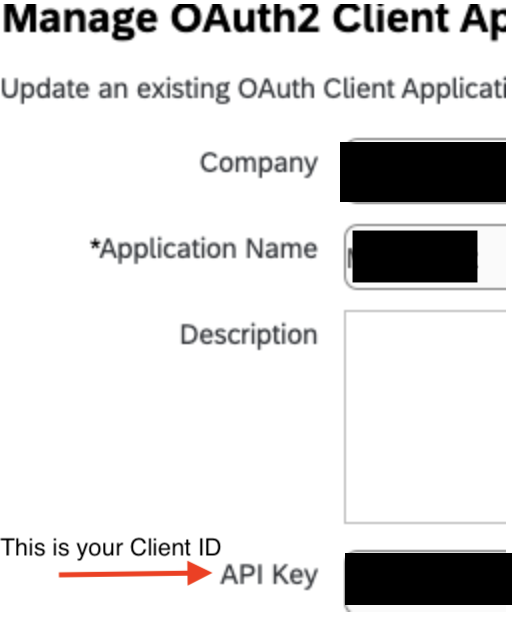
Back on your Manage OAuth2 Client Applications, go to the application you just created and click Edit

You will now see an API key listed - this is your Client ID. Copy and save this Key.
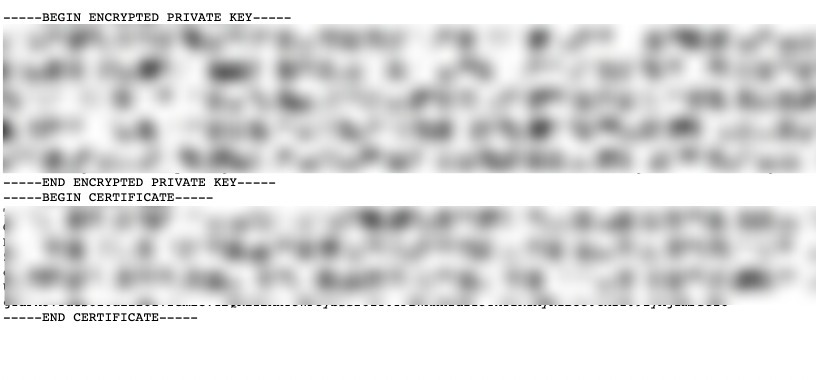
Open up the "Certificate.pem" file that you downloaded previously in a text editor. The string between ——BEGIN ENCRYPTED PRIVATE KEY——- and —-END ENCRYPTED PRIVATE KEY——- is your Client Secret. Copy the Client Secret and save
Step 5: Authenticate with your credentials
Gather your generated credentials and provide those to your Thrive Technical Integration Specialist.